Capture the full outline
Use a straight front view, a side or three-quarter view, a back view, and a material or detail shot when available. Keep one product in frame, with nothing else competing for space in the shot, so the generation process has an unambiguous single object to work from rather than having to guess which item in the photo is the actual product.
Keep lighting consistent
Avoid harsh reflections, dark corners, busy scenes, and mixed lighting. A clean background makes the product easier to understand, both for the generation process and for a human reviewer checking the result afterward against the source photos.
Add real dimensions
Photos help create the visual model, but merchant-entered width, height, and depth should remain the source of truth for the public product page. No photo, however good, can substitute for an actual tape-measure number, because a photo alone gives the generation process no reliable sense of real-world scale.
The full shot list
A complete set covers the product from every angle a shopper would actually want to check. Front, straight-on and centered, shows the primary silhouette shoppers judge first. Back is easy to skip but often reveals genuine differences from the front — cushion backs, cable routing, or a plain panel where the front has detail — and skipping it forces the generation process to guess. Left and right sides capture depth and profile, which is exactly what static front-only photography usually fails to convey. A three-quarter angle, roughly 45 degrees off the front, helps tie the front and side views together into a coherent sense of the object's full form. Finally, one or more material close-ups — a tight shot of the fabric weave, wood grain, leather texture, or metal finish — give the reviewer and the generation process the detail needed to get color and material right, not just shape.
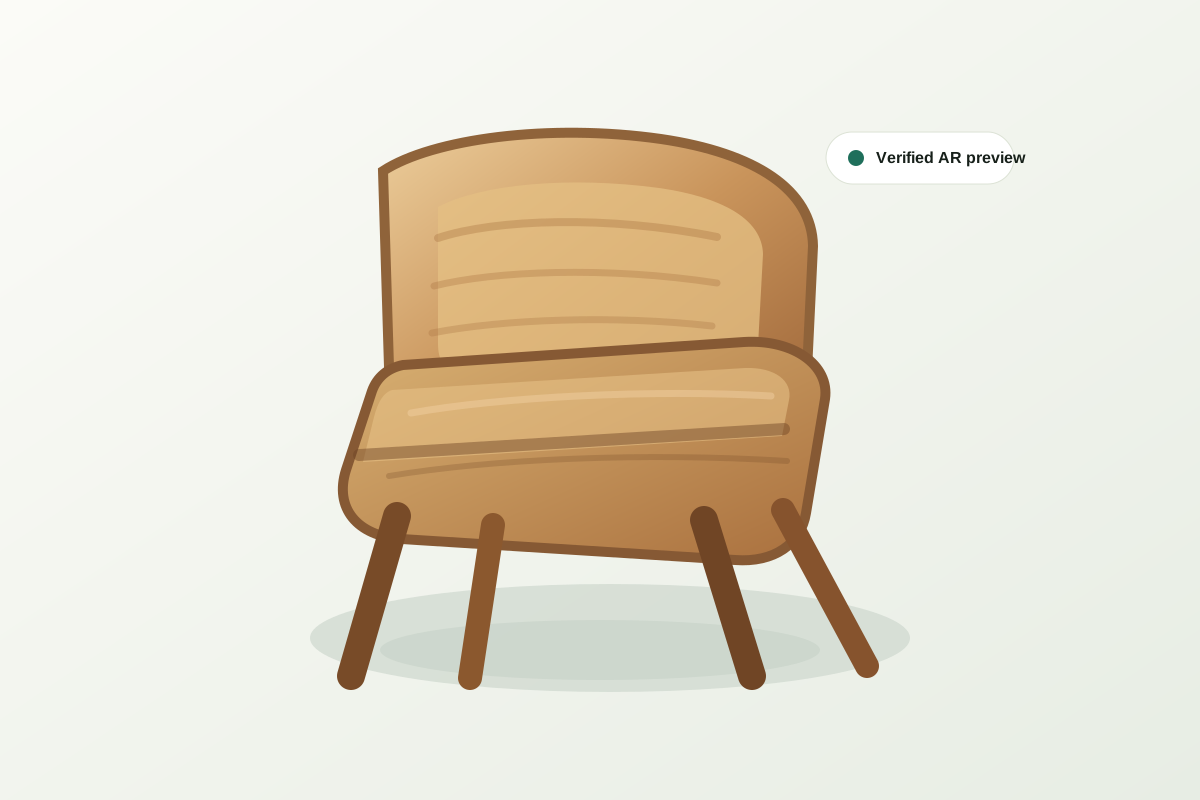
Lighting: even light, no harsh shadows or flash
Lighting mistakes are one of the most common reasons a generated model looks worse than the real product. Use soft, even, diffused light — daylight near a window on an overcast day, or a simple softbox — rather than direct flash or a single hard light source, which throws deep shadows on one side of the product and blows out highlights on the other. Avoid mixed lighting, such as one photo shot under daylight and the next under warm indoor bulbs, because inconsistent color temperature across the set makes it harder to judge the product's true color. The goal in every shot is light that reveals shape and true color without distorting either.
Background separation
The product needs to read clearly against its background in every shot. A plain, uncluttered wall or backdrop, ideally a color that contrasts with the product rather than blending into it, makes the outline unambiguous. Busy backgrounds — other furniture, patterned wallpaper, clutter on the floor — force the generation process to work harder to isolate the actual product, and increase the odds that some part of the background gets mistaken for part of the object.
Get the full product in frame
Every shot should show the entire product, edge to edge, with a small margin of background on all sides — no legs cropped out of frame, no armrest cut off, no top of a shelving unit sticking out of the top of the photo. A cropped product forces the generation process to either guess at the missing geometry or work from an incomplete silhouette, and both outcomes produce a less accurate model than starting from a complete view.
Recording dimensions correctly
Measure width, height, and depth in centimeters using an actual tape measure against the physical product, not a listed spec sheet number that may reflect a different variant or a rounded marketing figure. For upholstered pieces, note whether the measurement is taken compressed or at rest, since cushions can compress several centimeters under a tape measure's pressure. Record these numbers at the same time as the photo shoot, while the product is in front of you, rather than trying to reconstruct them later from memory or an old listing.
Common failure photos and why each one hurts the result
A handful of recurring mistakes show up across most problem submissions. Blurry or out-of-focus shots give the generation process no sharp edges to work from, which shows up later as a soft, imprecise silhouette in the model. Cluttered scenes with other objects in frame risk the process picking up part of the wrong item. Cropped photos that cut off legs, arms, or a top edge leave the model missing geometry it was never shown. Colored or tinted lighting — a warm bulb, a colored lamp, a shot taken through tinted glass — shifts the apparent material color away from the true color, which then has to be corrected later rather than being right from the start. Reflective or glossy surfaces photographed under a single bright light source often show a blown-out highlight instead of the actual surface color and texture. Each of these is preventable with the same fix: even light, a clean background, sharp focus, and the whole product in frame.